How To Read A Tape Measure: A Beginner's Guide To Mastering This Essential Skill
So listen up, folks! If you've ever found yourself staring at a tape measure like it's some kind of ancient artifact, don't worry—you're not alone. Learning how to read a tape measure is one of those skills that seems simple but can trip you up if you're not paying attention. But guess what? By the end of this guide, you'll be measuring like a pro, ready to take on any DIY project that comes your way and yeah, that’s a promise!
Now, let’s get something straight. Whether you're a seasoned handyman or just starting out, understanding how to read a tape measure is crucial. It’s not just about getting accurate measurements; it's about confidence. Imagine being able to walk into any home improvement store and confidently pick up a project without second-guessing yourself. Sounds good, right?
So buckle up because we’re diving deep into the world of tape measures. We’re going to break it down step by step, making sure you don’t miss a thing. Let’s turn this skill from "mystery" to "mastered" in no time!
- Arnel Pineda The Journey Of A Remarkable Singer And Frontman
- Zach Wilson The Rising Star Of American Football
Why Knowing How to Read a Tape Measure Matters
Let’s face it—accuracy is everything when it comes to building, crafting, or even hanging a picture frame. If you can’t read a tape measure properly, you might end up with a crooked shelf or a project that doesn’t fit. And nobody wants that! Mastering this skill isn’t just about avoiding frustration; it’s about saving time, money, and effort.
Think about it: a tape measure is one of the most versatile tools out there. It can help you measure everything from the width of a doorway to the length of a piece of wood. And if you’re planning to tackle any kind of home improvement project, knowing how to read it is non-negotiable.
Common Mistakes People Make When Reading a Tape Measure
Before we jump into the nitty-gritty, let’s talk about some common mistakes people make. First off, not accounting for the hook at the end of the tape can throw off your measurements. That little metal tab? Yeah, it moves slightly to ensure accuracy when you push or pull the tape. Cool, right?
- Shacarri Richardson Workout Plan Achieving Speed And Strength
- Exploring The Mike And Molly Cast A Comprehensive Guide
Another biggie is misreading the fractions. A lot of folks get tripped up by the tiny markings and end up with measurements that are off by a fraction of an inch. And trust me, in the world of precision, fractions matter!
Understanding the Basics of a Tape Measure
Alright, let’s start with the basics. A tape measure is typically made of a flexible ruler with markings that indicate inches, feet, and sometimes even centimeters. The markings on a tape measure can vary, but most standard ones in the U.S. will have inch markings that are easy to spot. But wait—there’s more!
Key Parts of a Tape Measure
- The Hook: That little metal piece at the end? It’s designed to hook onto edges, and it moves slightly to ensure accurate measurements.
- The Blade: The actual measuring part of the tape, usually made of steel or fiberglass.
- The Case: The housing that holds the tape in place. Some cases even have built-in levels or other tools.
Now that you know what you're working with, let’s move on to the fun part—reading those markings!
How to Read Inches on a Tape Measure
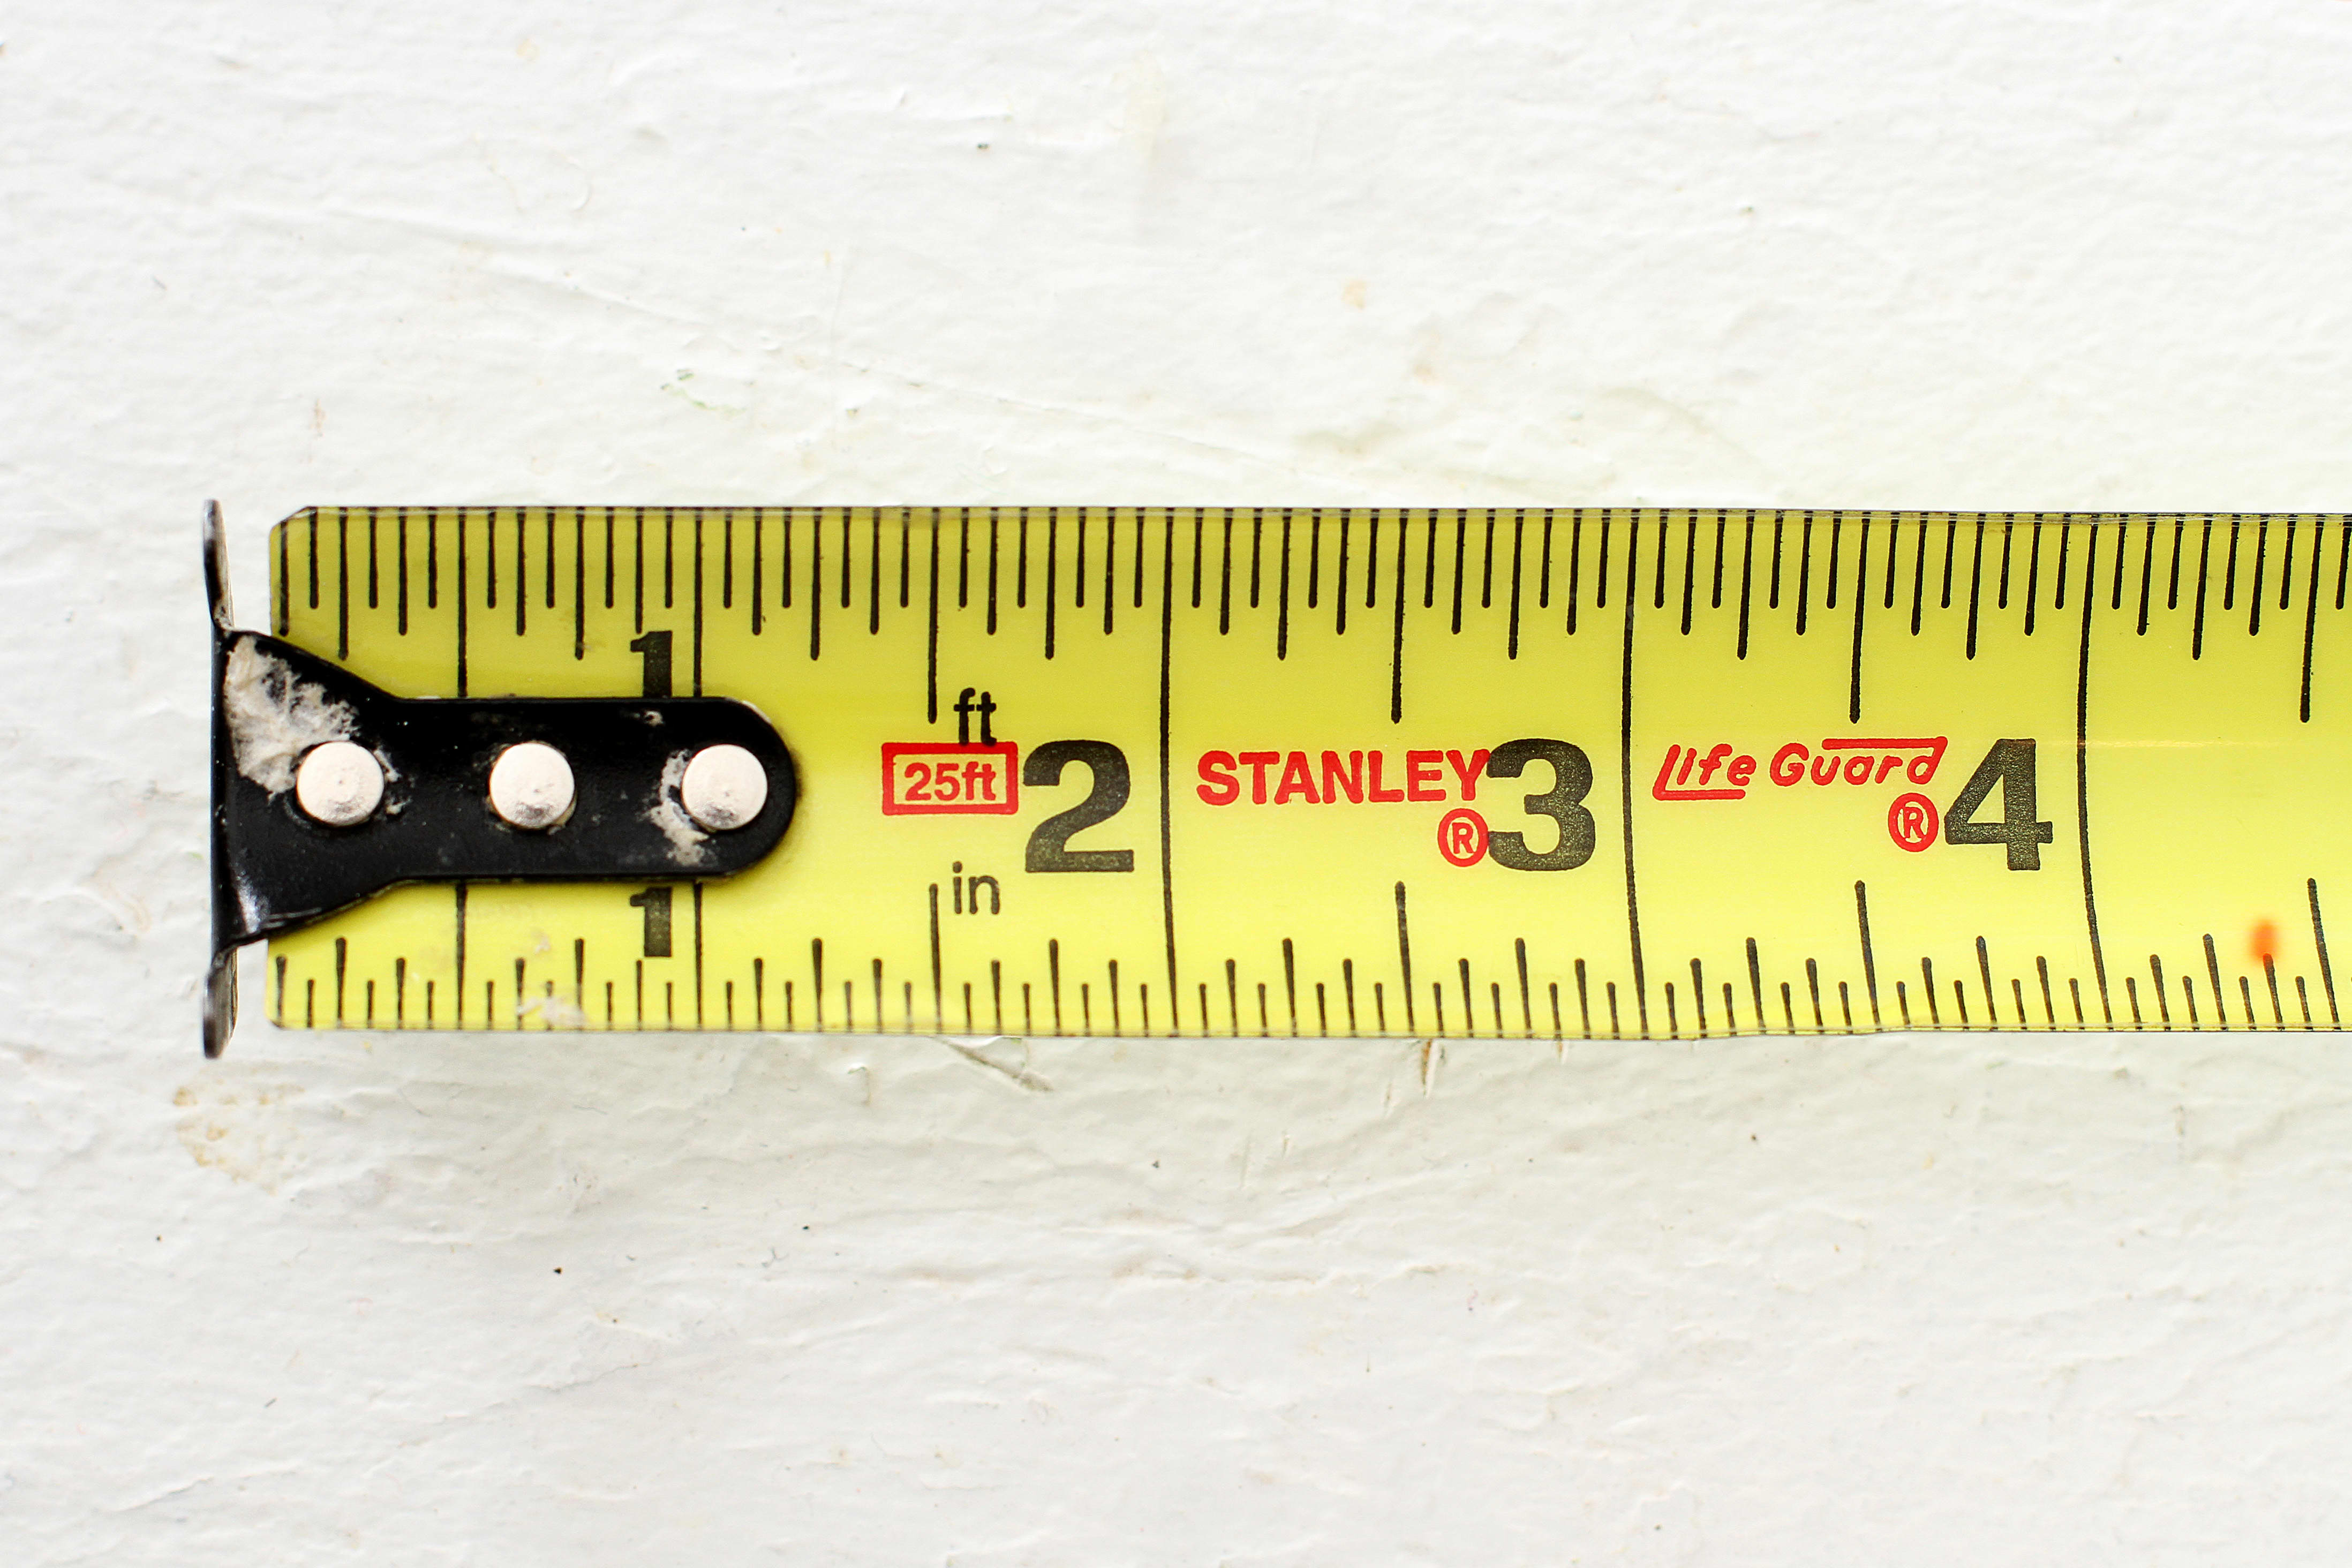
Reading inches on a tape measure is pretty straightforward once you get the hang of it. The largest markings on the tape represent inches, and they’re usually numbered. Between each inch, you’ll see smaller lines that represent fractions of an inch.
Breaking Down the Markings
Here’s a quick breakdown:
- 1 inch: The longest line with a number next to it.
- 1/2 inch: The second-longest line, halfway between two inch marks.
- 1/4 inch: The next set of shorter lines, usually halfway between the 1/2 inch mark and the inch mark.
- 1/8 inch and 1/16 inch: The smallest lines, which require a bit more attention to detail.
It might seem overwhelming at first, but with practice, you’ll start recognizing these patterns in no time.
Understanding Feet and Inches
When you’re working on larger projects, you’ll often need to measure in feet as well as inches. Most tape measures have a marking every 12 inches that indicates a foot. These are usually labeled with a different symbol, like a black diamond or a larger number.
Converting Feet to Inches
Let’s say you measure something and it comes out to 3 feet and 7 inches. To convert that to just inches, you multiply the feet by 12 and add the remaining inches. So, 3 feet x 12 inches = 36 inches, plus 7 inches gives you a total of 43 inches. Easy peasy!
Using a Tape Measure for Accuracy
Now that you know how to read the markings, let’s talk about using the tape measure itself. Here are a few tips to ensure your measurements are as accurate as possible:
- Stretch It Tight: Make sure the tape is fully extended and not sagging. This will give you a more accurate reading.
- Use the Hook Properly: Whether you’re hooking it onto an edge or holding it in place, make sure the hook is secure.
- Double-Check: Always measure twice to avoid mistakes. Trust me, it’s worth the extra few seconds.
Accuracy is key, especially when you’re working on projects that require precise measurements. Taking the time to do it right will save you headaches down the line.
Common Tape Measure Fractions Explained
Fractions can be tricky, but they’re an essential part of reading a tape measure. Here’s a quick guide to help you out:
- 1/2 inch: Halfway between two inch marks.
- 1/4 inch: Halfway between the 1/2 inch mark and the inch mark.
- 1/8 inch: Halfway between the 1/4 inch mark and the next 1/4 inch mark.
- 1/16 inch: The smallest lines, which require a bit more precision.
Remember, practice makes perfect. The more you work with fractions, the easier they’ll become to recognize.
Quick Tip for Fractions
If you’re struggling to keep track of all the fractions, try using a ruler with fewer markings at first. Once you get comfortable, you can move on to more detailed tape measures.
Measuring Odd Shapes and Angles
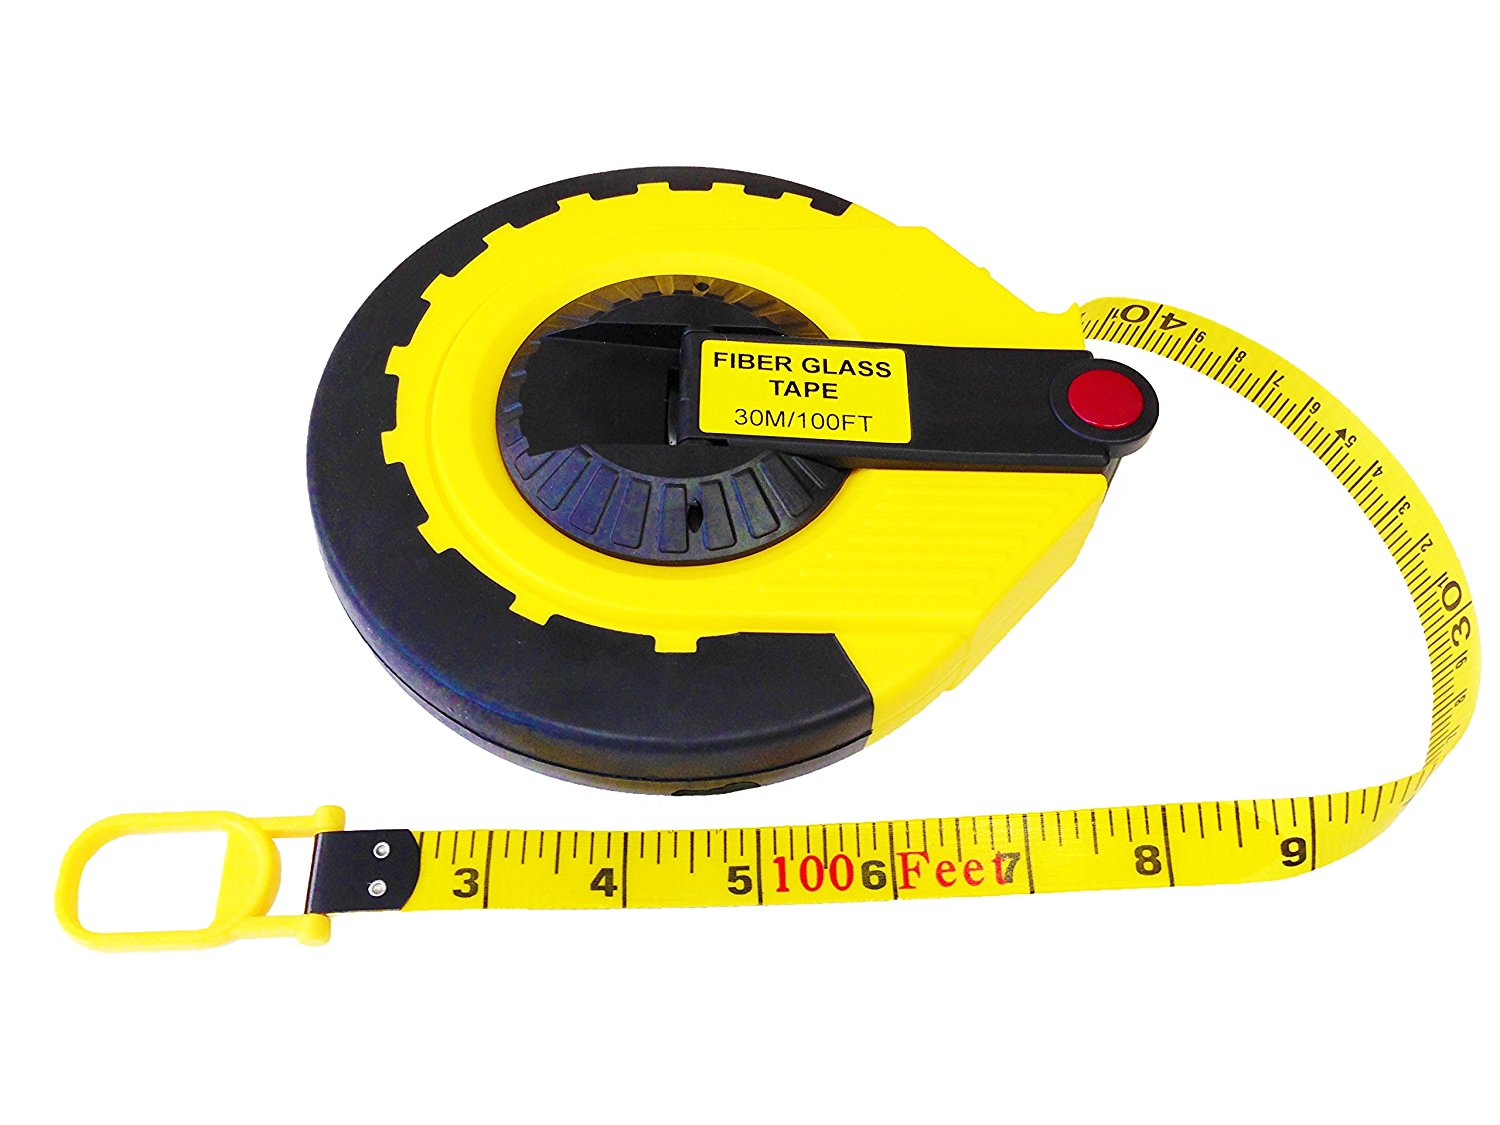
Not every measurement is a straight line. Sometimes you’ll need to measure curved surfaces or odd angles. Here’s how to handle those tricky situations:
- Flexible Tape Measures: Use a flexible tape measure for curved surfaces. It’ll conform to the shape and give you a more accurate reading.
- Angle Measurements: If you need to measure angles, consider using a protractor or angle finder in conjunction with your tape measure.
Measuring odd shapes can be a bit more challenging, but with the right tools and techniques, you’ll be able to tackle anything that comes your way.
Advanced Tips for Mastering the Tape Measure
Once you’ve got the basics down, it’s time to take your tape measure skills to the next level. Here are a few advanced tips to help you become a true measuring master:
- Use Reference Points: If you’re measuring a large space, use reference points like walls or corners to ensure accuracy.
- Mark Measurements Clearly: Use a pencil or marker to clearly mark your measurements. This will help you avoid confusion later on.
- Invest in a Quality Tape Measure: A good tape measure can make a big difference in accuracy and durability. Look for one with clear markings and a sturdy case.
These tips might seem small, but they can make a huge difference in your measuring accuracy and overall project success.
Choosing the Right Tape Measure
Not all tape measures are created equal. When shopping for a new one, consider the following:
- Length: Make sure the tape measure is long enough for your needs. For most home projects, a 25-foot tape measure should suffice.
- Material: Look for a tape measure made of durable materials like steel or fiberglass.
- Markings: Clear, easy-to-read markings are essential for accuracy.
Investing in a quality tape measure is one of the best things you can do for your DIY projects. Trust me, it’s worth the extra few bucks!
Conclusion: You’re Now a Tape Measure Pro!
And there you have it, folks! You’ve officially leveled up in the world of measuring. By now, you should feel confident in your ability to read a tape measure and take on any project that comes your way. Remember, practice makes perfect, so don’t be afraid to keep honing your skills.
Now, here’s the fun part: share this guide with your friends and family. Help them master the art of measuring, and who knows? You might just start a DIY revolution in your neighborhood!
And hey, if you’ve got any questions or tips of your own, drop them in the comments below. Let’s keep the conversation going and make measuring a little less intimidating for everyone!
Table of Contents
- Why Knowing How to Read a Tape Measure Matters
- Common Mistakes People Make When Reading a Tape Measure
- Understanding the Basics of a Tape Measure
- How to Read Inches on a Tape Measure
- Understanding Feet and Inches
- Using a Tape Measure for Accuracy
- Common Tape Measure Fractions Explained
- Measuring Odd Shapes and Angles
- Advanced Tips for Mastering the Tape Measure
- Choosing the Right Tape Measure

Detail Author:
- Name : Otto Hegmann PhD
- Username : kreiger.lionel
- Email : jevon45@yahoo.com
- Birthdate : 1986-03-09
- Address : 488 Sheldon Views Suite 433 New Cristal, FL 28173
- Phone : 959.237.6821
- Company : Kiehn Inc
- Job : Biologist
- Bio : Et voluptatem quis consequatur ut aliquid inventore omnis. Quis laborum eveniet rem labore nisi quasi. Illo id deserunt delectus sint. Quidem dignissimos harum vitae qui quas neque.
Socials
twitter:
- url : https://twitter.com/johnsonc
- username : johnsonc
- bio : Delectus consectetur doloribus nihil nostrum nihil. Voluptatum enim cum et eos veniam molestias et. Saepe eveniet perspiciatis et quis sed.
- followers : 6167
- following : 2118
facebook:
- url : https://facebook.com/johnson1992
- username : johnson1992
- bio : Eius fugiat dolorum voluptas eaque quos.
- followers : 714
- following : 2962
